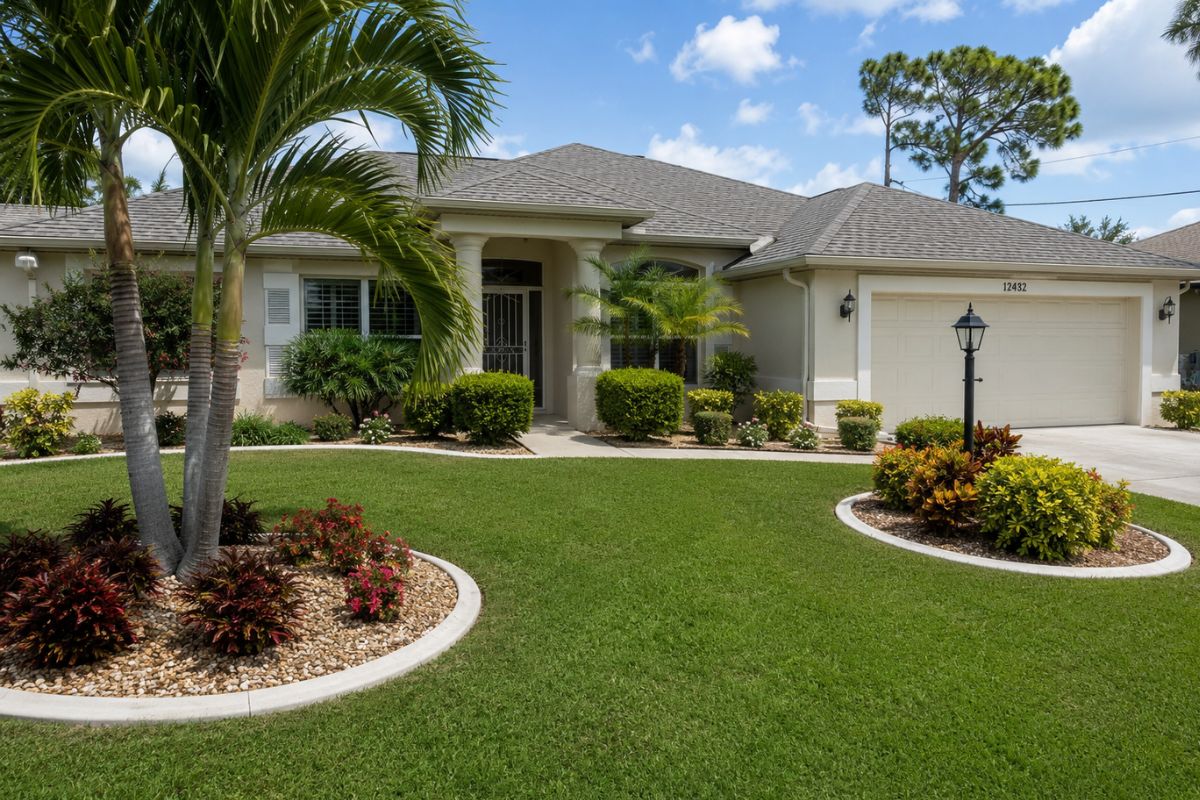
Picture approaching your home and noticing the neat, smooth lines that distinctly separate your lawn from your flower beds, thanks to concrete borders for your flower beds—borders that maintain their shape and do not decay over time.
Just as elegant crown molding finishes an interior room, concrete landscape edging brings a polished frame to your yard, finally ending the seasonal battle with warped plastic or decaying wood. As you explore concrete landscape edging, think of it as outdoor trim that elevates concrete garden edging from purely functional to beautifully finished.
Upgrading to this permanent solution solves frustrating maintenance headaches while building lasting equity. While traditional timber borders degrade within five years, these concrete landscape borders easily survive two decades and function as an impenetrable root barrier against invasive grass along concrete flower bed edging. According to real estate appraisers, investing in professional cement landscape curbing can even boost your home's overall curb appeal value by one to three percent, making a durable cement border a smart upgrade.
Summary
Concrete landscape edging delivers durable, low-maintenance, and curb-appeal-boosting borders that outlast wood and block invasive grass. Choose between DIY precast blocks and seamless poured-in-place curbing by balancing time, cost, and design flexibility. Elevate the look and function with integral color, stamped textures, mower strips, and accents like LED channels and glass inlays. Build on a compacted gravel base with control joints and maintain with periodic sealing to ensure decades of clean lines and strong ROI.
Choose Your Style: Comparing Precast Blocks vs. Custom Poured-in-Place Curbing
Deciding how to shape your landscape usually means choosing between setting individual pieces or creating one continuous line. These systems go by many names---concrete landscape edging, concrete garden edging, concrete landscape curbing, or cement landscape edging---but the core choice is between modular precast edging and seamless poured concrete edging.
For hands-on weekend warriors, concrete edging blocks are highly accessible.
You can easily pick up a pallet of concrete edging stones (or cement edging stones) from a local hardware store and lay them yourself, sometimes sold as precast concrete lawn edging kits. Simple hand tools like concrete edgers for landscaping or basic cement edgers help soften the top edges for a clean finish. However, this DIY route requires significant manual digging to ensure each piece sits level, and over time, weeds inevitably sneak through the joints.
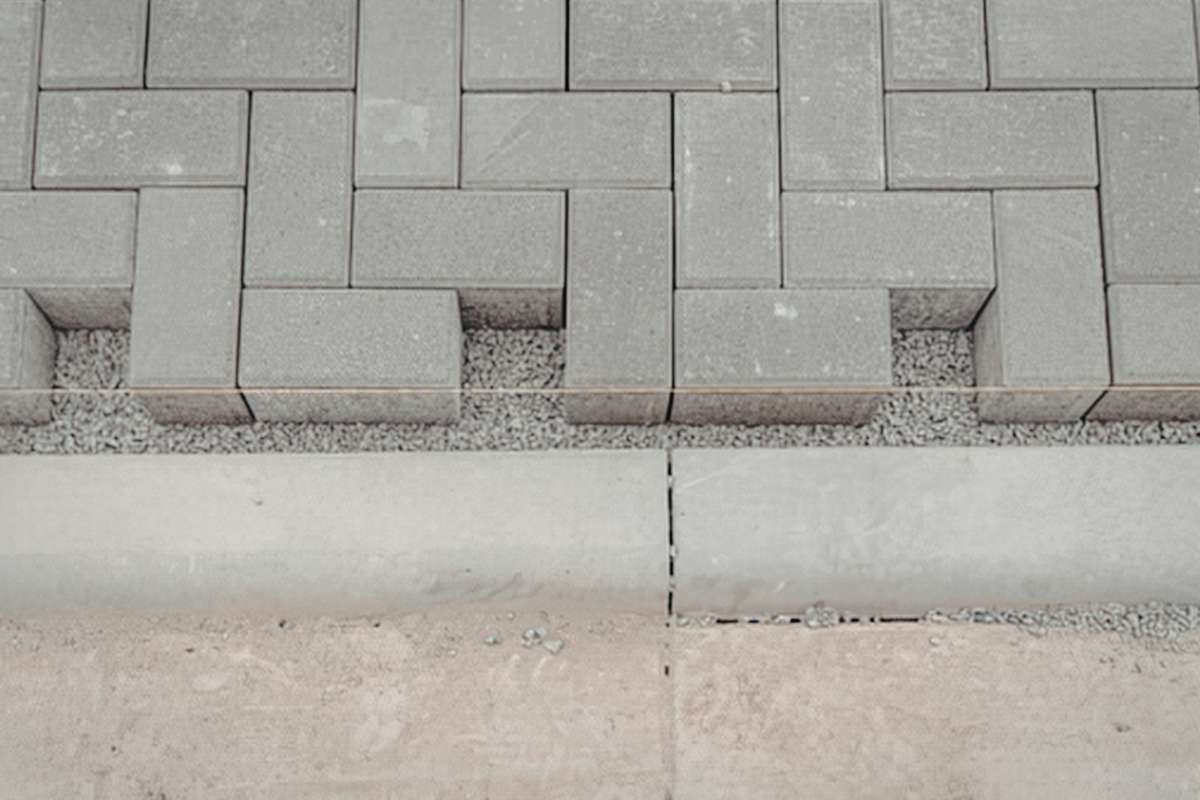
Professional poured concrete edging offers a brilliant, low-maintenance alternative. By forming wet concrete directly into a prepared trench, crews create seamless concrete curb landscape edging that naturally hugs your garden's curves while completely eliminating those weed-friendly gaps. When weighing both options, keep these key factors in mind:
- Installation Time: Blocks require days of heavy manual lifting, while poured curbing typically finishes in a few hours.
- Cost per Linear Foot: Precast materials save money upfront, whereas seamless pouring includes professional labor costs.
- Design Flexibility: Blocks suit straight lines best, but pouring adapts effortlessly to tight, sweeping shapes.
Once this structural foundation is set, you can seamlessly integrate beautiful artistic textures and colors to mimic natural stone and brick with decorative concrete edging.
Artistic Textures and Colors: How to Use Stamped Patterns to Mimic Stone and Brick
Moving beyond basic gray turns a simple boundary into a striking landscape feature. The secret to lasting vibrancy is integral color---mixing pigment directly into the wet material before pouring. Unlike surface stains or paints that chip over time, colored concrete carries its hue completely through the mix. If an errant shovel or wheelbarrow scratches your edging, the blemish stays practically invisible because the tone is baked into the core.
While the mixture remains pliable, installers press large rubber texture mats into the surface, functioning much like giant cookie cutters. These stamped concrete border edging patterns perfectly mimic the rich, varied textures of slate, cobblestone, or traditional brick. Best of all, you capture this luxurious, authentic look at roughly forty percent less cost than purchasing and installing natural stone.
A thoughtfully designed decorative concrete curb creates a unified, custom appearance when carefully matched to your home's existing architecture. Beyond elevating your property's visual charm, these solid boundaries save major time during weekend yard chores. Flat mower strips, in particular, serve as a maintenance miracle that ends string trimmer hassle. For even more cohesion, consider extending the same style as decorative concrete landscape curbing along front walkways or as a subtle concrete driveway border.
The Maintenance Miracle: Designing Mower Strips that End String Trimmer Hassle
Reclaiming your weekends starts with functional mower strips. By installing this specific, flat-style concrete yard edging, you can eliminate ninety percent of manual string trimming around garden beds. Unlike thin, vertical borders that easily chip when accidentally bumped, flat-top cement lawn edging provides a highly durable, horizontal track. One mower wheel rolls smoothly directly on the concrete, letting the machine's blade cleanly cut the grass right at the boundary. The same principles work beautifully for a clean, low-profile concrete driveway border along pavement edges.
Building this zero-maintenance barrier requires three simple structural rules:
- Width: Maintain a 5-inch flat surface to safely support standard mower wheels.
- Depth: Include a gravel base underneath to prevent seasonal shifting or cracking.
- Flushness to soil: Pour the top completely level with the dirt to avoid scalping your turf.
Once this practical foundation is poured, you can upgrade it with next-level accents, integrating LED lighting and glass inlays for spectacular nighttime appeal.
Next-Level Accents: Integrating LED Lighting and Glass Inlays for Nighttime Appeal
Transforming a simple daytime border into a stunning nighttime feature is easier than you might think. By pressing a small groove---or a "recessed channel"---into the wet cement before it cures, you create a seamless hiding spot for weatherproof LED strips. This sleek approach to integrating landscape lighting casts a soft, welcoming glow across your walkways while drastically reducing evening trip hazards without the need for bulky solar lamps.
Another brilliant way to elevate your decorative concrete edging is by adding tumbled, recycled glass to the surface while the mix remains workable. These colorful glass inlays act like tiny jewels embedded in the stone, catching the afternoon sunlight and shimmering beautifully under moon-glow.
Whether choosing glowing channels or sparkling glass, these aspirational accents require a perfectly stable foundation to prevent the border from shifting, heaving, and breaking as seasons change. Thoughtful detailing like this elevates any edge concrete design while keeping lines clean and cohesive.
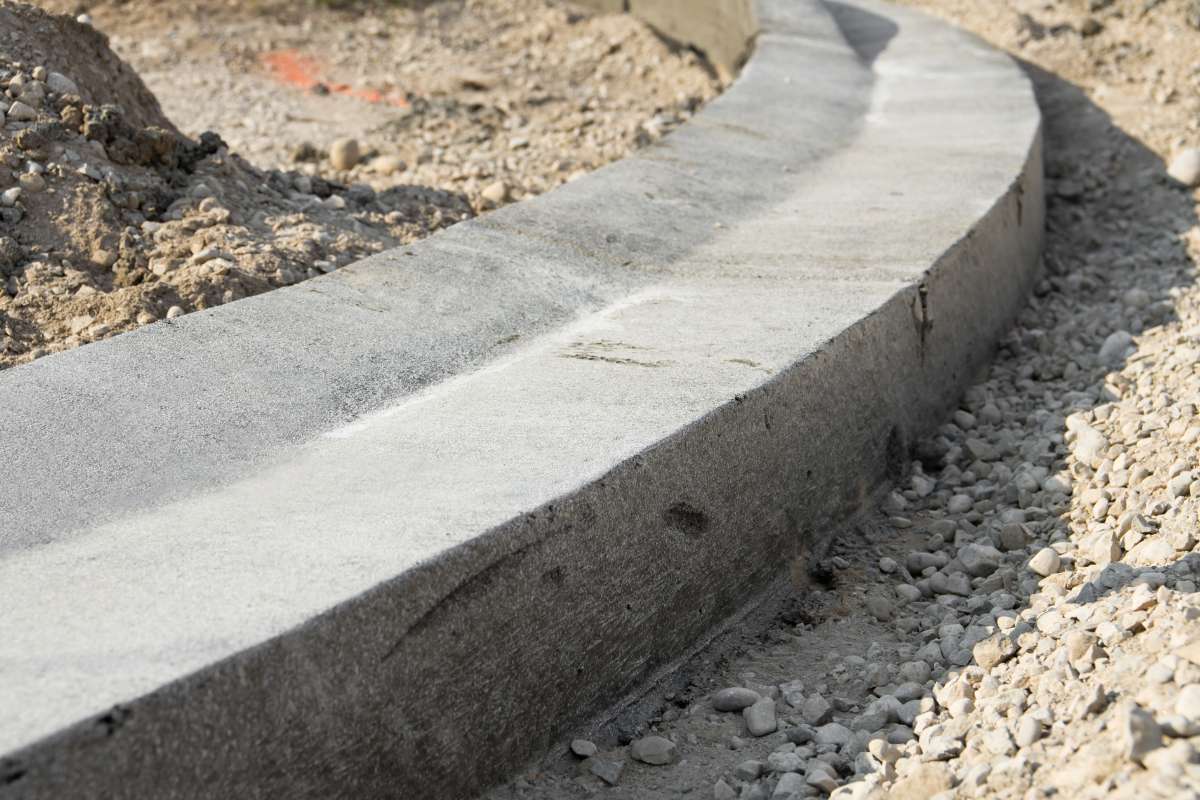
Built to Last: The 3-Step Foundation for Preventing Cracks and Frost Heave
Because concrete is a rigid material, shifting winter soil can ruin those beautiful glowing borders. Preventing concrete landscape edging cracks requires building a stone "pillow" underneath. When freezing ground expands---a process called frost heave---this foundation absorbs the shock. Proper dirt tamping (subgrade compaction) ensures your concrete mix for landscape edging won't snap, while 1/8-inch rebar excels at reinforcing landscape borders internally.
Checklist for a stable base:
- 3-inch trench depth
- 2 inches of compacted gravel
- Scoring frequency every 3-5 feet
These control joints act like pressure valves, guiding expansion so stress fractures stay completely hidden, guaranteeing a professional-grade landscape border. Place joints consistently in your concrete border edging to keep cracks invisible and performance high.
From Inspiration to Installation: Your Roadmap for a Professional-Grade Landscape Border
You've graduated from battling creeping grass to envisioning a truly artistic border. Whether consulting a DIY poured concrete curbing guide or hiring professionals, this upgrade effortlessly transforms a standard yard into a curated landscape. For local pros and pricing, compare quotes by searching "concrete edging near me." Remember, professional installation usually pays for itself in labor savings over five years, providing outstanding long-term ROI.
To protect your new weatherproof garden border, prioritize routine concrete edging maintenance. Regular sealing prevents color fading from UV rays and blocks water absorption.
Simply seal the concrete every 2-3 years. Pro crews often use curb machines, cement curbs, and finishing tools like concrete edgers to deliver crisp results. This single action ensures your crisp, defining lines remain beautifully intact for decades as decorative concrete landscape curbing or concrete curb landscape edging that complements your home.
Frequently Asked Questions
Q: Why choose concrete landscape edging over wood or plastic borders?
A: Concrete edging delivers long-term durability, low maintenance, and a clean, finished look that outperforms wood or plastic. Unlike timber that typically degrades within five years, concrete borders commonly last two decades, won’t rot or shift, and act as an impenetrable root barrier to stop invasive grass. Professionally installed concrete curbing can also boost curb appeal value by around 1–3%, turning a maintenance headache into a smart, lasting upgrade.
Q: Should I use precast concrete blocks or poured-in-place curbing?
A: Pick precast blocks for a DIY-friendly, lower upfront cost approach, and poured-in-place for speed, seamless curves, and minimal maintenance. Blocks are accessible and can be installed with basic tools, but they demand significant digging and leveling and allow weeds to creep through joints. Poured curbing is installed by pros in hours, forms a continuous line that fits curves naturally, eliminates weed-prone gaps, but includes labor costs. In short: blocks save money and suit straighter lines; poured adapts effortlessly to sweeping shapes and saves time.
Q: How do I get a natural stone or brick look that actually lasts?
A: Use integral color and stamped textures during installation. Integral color mixes pigment throughout the concrete, so scratches stay nearly invisible compared to surface paints or stains that can chip. While the concrete is still workable, installers press rubber mats to stamp textures that mimic slate, cobblestone, or brick—delivering a high-end look at about 40% less cost than natural stone. Match patterns and colors to your home’s architecture for a cohesive, custom feel.
Q: What is a mower strip and how does it reduce yard work?
A: A mower strip is a flat-top concrete edge that lets one mower wheel ride on the concrete, trimming grass cleanly at the border and cutting up to 90% of string trimming. Build it with three rules: maintain a 5-inch-flat surface for the wheel, set it over a compacted gravel base to prevent shifting, and pour the top flush with the soil to avoid scalping. This design is tougher than thin, vertical borders and works well along garden beds and driveway edges.
Q: Can I add lighting or decorative accents, and how do I prevent cracks over time?
A: Yes—press a recessed channel into wet concrete to hide weatherproof LED strips, and broadcast tumbled recycled glass onto the surface for jewel-like inlays. For longevity, build a stable base to resist cracking and frost heave: excavate a 3-inch trench, add 2 inches of compacted gravel, and cut control joints every 3–5 feet. Compact the subgrade and consider 1/8-inch rebar for internal reinforcement. Maintain the curb by sealing every 2–3 years to protect color and block water. If hiring out, search “concrete edging near me”; pro crews use curb machines and finishing tools to achieve crisp, durable results that often pay for themselves in labor savings within five years.